
Step 6
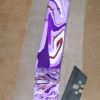
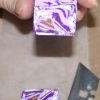
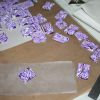
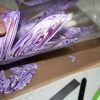
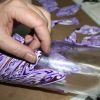
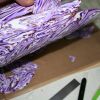
It is time to slice. I slice on some paper. Start you cut at the corner. Clay is kind of like slicing a tomato it forms almost a skin if you score it first just a bit your slicing goes much smoother. You want to slice straight down. You want your slice 1/8 to ¼ inch thick. Slice up your log/cane.
You want your thickness to vary a bit so when you roll out each square. You will get different pattern and sizes. Now if you want each of you piece to be more uniform then your slices need to be the same thickness.
Step 7
Make sure you glass is clean and dry.
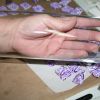
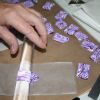
Take a slice of the clay and roll across it. You can roll in any direction you would like. Roll it pretty thin but still thick enough to handle 1/16th of an inch or less.
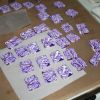
I roll all the square out before I lay any pieces, that why I have a lot to choose from for placement. Okay I hand rolled to show you it can be done but I am rolling mine out with my pasta machine it is much faster.
Step 8
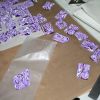
How to apply is easy just lay the clay on you glass and press firmly.
Do not worry about little gaps we will take care of those soon.
Once you placed all your clay take your roller and start rolling over it. What you are doing is flatting out any high spot. If you have any gaps in the clay roll towards the gaps. That pushes the clay in to the gap. If you want to texture now is the time. Quick easy method is ball up aluminum foil and quick press all over the clay.
Now you are ready to bake.
A very important thing if you want your clay to be durable on the glass clay needs to be pressed to clay all the way around do not leave one little piece of clay by itself on the glass because it will pop off over time unless you glue it back on after baking. You are incasing your glass even if it just a thin ribbon of clay.
Step 9
Preheat your oven to the manufacture instruction. You can find them on the side of your clay package. You need an oven thermometer to keep an eye on the temperature. You do not want to burn your clay. I know the instruction will say something like 15 minutes for every 1/4 inch. I bake everything for at least 45 to 60 minutes.
Get your baking surface ready I place parchment or printer paper and lay my piece on the paper. Small container are easy to tent larger pieces not so much. Take a piece pf paper large enough to fold in half and create a tent over your clay piece. It may take more than one sheet of paper. Larger objects can be laid on their side to bake. You glass may end up with a flat spot where it lays. Tenting will help prevent burning do to hot spots in your oven.
Now bake. Let cool.
If you want to gloss do so now sometimes I do, sometimes I don’t.
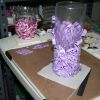
Now you have beautiful and original glass container.
Finished PicFinished PicFinished PicFinished PicQuick bead making 101
Step 1
Smoosh the extra clay back together. Roll in to a ball then in to a log.
Step 2
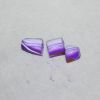
Make equal slices.
Step 3
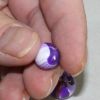
Take a clay piece and roll it between your palms till you get a round shape. If you take 2 fingers and do short quick figure 8 motions it easier to get a more perfectly round ball.
Step 4
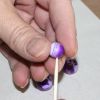
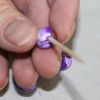
Take a tooth pick and gently push in to the clay twisting back a forth till you are almost all the way through then use the tooth pick on the other side.
If your bead get misshaped you can gently roll back in to a round ball just do not apply much pressure and check your hole to make sure they did not close.
Step 5
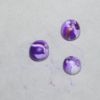
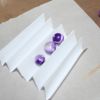
Fold a small piece of paper in to an accordion place that on you baking sheet. Drop your beads in to the folds this will help keep you beads round (no flat spots).
If you are going to make a lot of beads a bead baking rack is a good investment, you can make or buy them.
Step 6
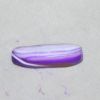
Bake, let cool, then gloss. I gloss on a tooth pick then stick it in a sponge. You can also ball up a little aluminum foil and make a stand to stick the tooth picks in.
I am lousy at editing myself so if you see a typo or misspelled word contact me privately and I will fix it thanks.
-
 1
1











Recommended Comments
There are no comments to display.
Join the conversation
You can post now and register later. If you have an account, sign in now to post with your account.